If you like to experiment with multiple versions of the operating system, not just Windows, then the virtual machine platform is a must-have tool for you. Hyper-V is a native hypervisor built by Microsoft that provides this feature on Windows, but is not accessible in Windows 11 Home. Although there are many third-party solutions available, Hyper-V performs much better and is easier to use. With that said, we have found a simple workaround to enable Hyper-V in Windows 11 Home.
What is Microsoft’s Hyper-V?

Microsoft’s hyper-V hypervisor is a hardware-based hypervisor. It allows users to run multiple operating systems on top of the Windows operating system. Hyper-V currently supports Windows, Ubuntu, and other Linux distributions. The performance of running Windows VMs with Hyper-V is excellent compared to other third-party technologies because the technology is built by Microsoft.
Hyper-V isn’t as feature-rich as other hypervisors when it comes to customization, but it’s fast. The reason for this is that most drivers operate independently of the hardware layer, reducing the overhead of virtual machine maintenance. In addition to that, you can use the default switches to allocate storage, cores, and internet access.
How Windows 11 Home enables Hyper-V
Enabling Hyper V in Windows 11 is a two-step process:
- Install Hyper V.
- Create a virtual machine.
Install Hyper-V in Windows 11 Home
Windows 11 Hyper-V tips and tutorials are as follows:
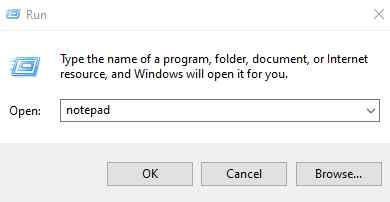
Step 1: Type Windows + R to open the run box, then type Notepad, and press Enter. The Notepad app will open on your desktop.
Step 2: Copy the script shown in the box below and paste it into the notepad window you just opened.
pushd “%~dp0″
dir /b %SystemRoot%\servicing\Packages\*Hyper-V*.mum >hyper-v.txt

for /f %%i in (‘findstr /i . hyper-v.txt 2^>nul’) do dism /online /norestart /add-package:”%SystemRoot%\servicing\Packages\%%i”

del hyper-v.txt

Dism /online /enable-feature /featurename:Microsoft-Hyper-V -All /LimitAccess /ALL

pause
Step 3: Click on the File tab in the top left corner of the Notepad window and select “Save As”.
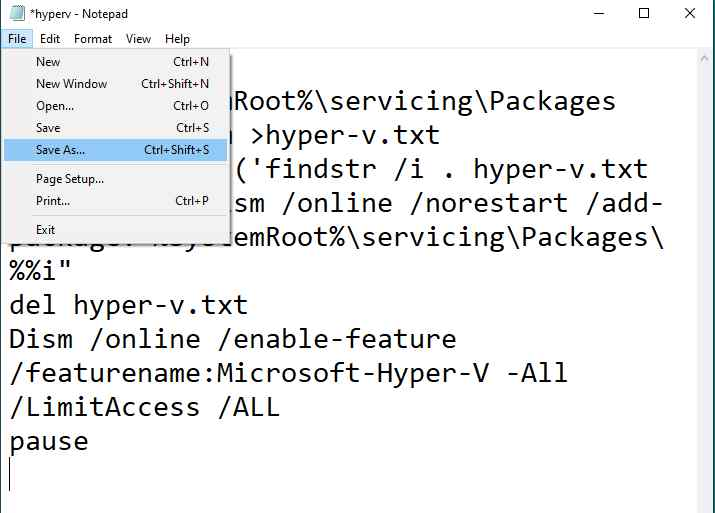
Step 4: A new box will open where you have to enter the file name (I entered Hyperv.bat).
Step 5: Tap on the save type and change it to ‘All Files’ (*.’) *)”
Step 6: Click on the Save button.

Note: You can name this file whatever you want, but it should have the “.bat” extension because we’re trying to create a batch executable. Don’t forget to change the save type to All Files, otherwise it will be saved as a text file.

Step 7: Now close the notepad editor and locate the batch file that was just created. Right-click the file and select Run as administrator from the context menu.
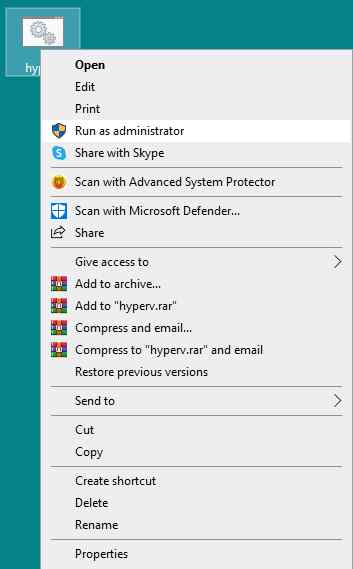
Note: There is a difference between the icons, a text file and a batch file. If you don’t succeed in creating the batch file the first time, repeat these steps again.
Step 8: The Command Prompt window will now launch automatically and a series of commands and installation status will start appearing on the screen. Don’t do anything but wait until it’s over. The process will take around 30 minutes.
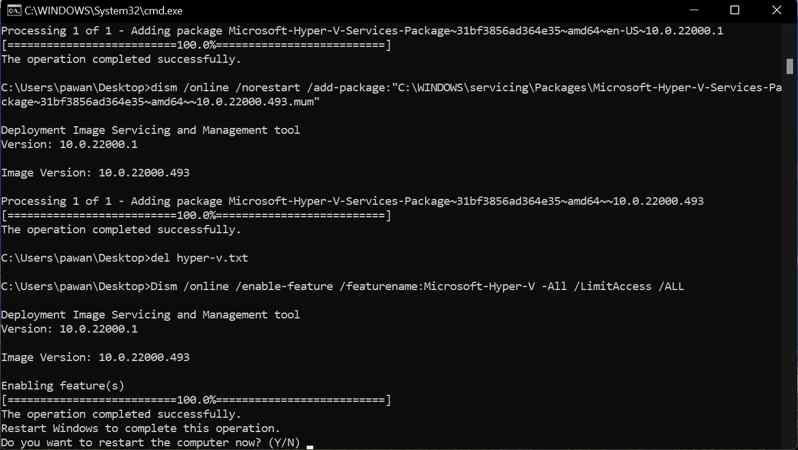
Step 9: You’ll receive a notification that the installation is now complete and ask if you want to restart your PC. Press Y, and then press Enter.
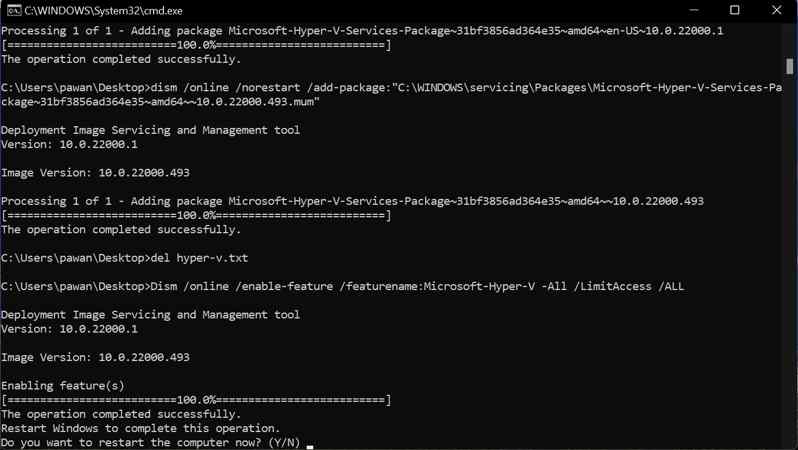
Note: If you accidentally close the Command Prompt then manually restart your PC to complete the installation process of Hyper V in Windows 11.
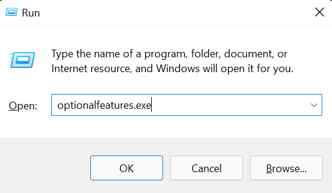
Step 10: Once your PC restarts, type “optionalfeatures.exe” in the RUN box and press Enter to launch the Windows feature options.
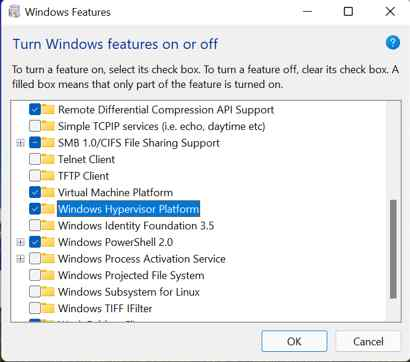
Step 11: Locate the three options, Hyper-V, Virtual Machine Platform, and Windows Hypervisor Platform, and make sure the checkboxes next to these options are appropriately selected. Now press OK.
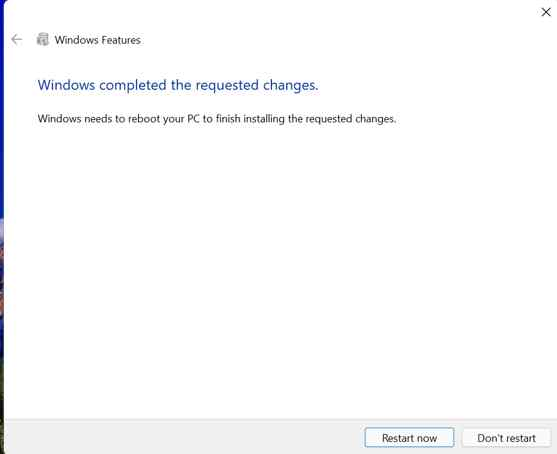
Step 12: The next stage of the installation process will now begin, which may not take much time. Restart your computer and the installation process is complete.
Step 13: Once your computer restarts, press Windows + S to open the search box and type in Hyper V, and you’ll see the relevant options in the search results. Click Hyper V Manager to launch the tool.
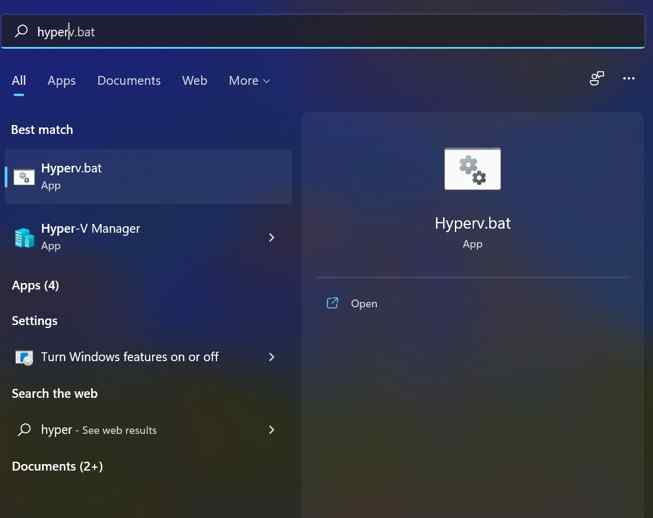
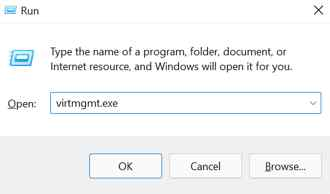
Note: If Hyper-V does not appear in the search results, use the Windows+R keys to open the run window. Then type virtmgmt.msc and press Enter.
How to create a virtual machine using Hyper -V
Step 1: Restart your computer and press the button to enter BIOS mode. For most computers, it’s F9 or F10.
Step 2: Browse the BIOS options and find the “Virtualization” option that is usually found in the “System Configuration” or “Advanced” tabs. All you have to do now is enable it and press the F10 key to save your settings.
Step 3: Restart your PC and in the search box then you can click on Hyper-V Manager.
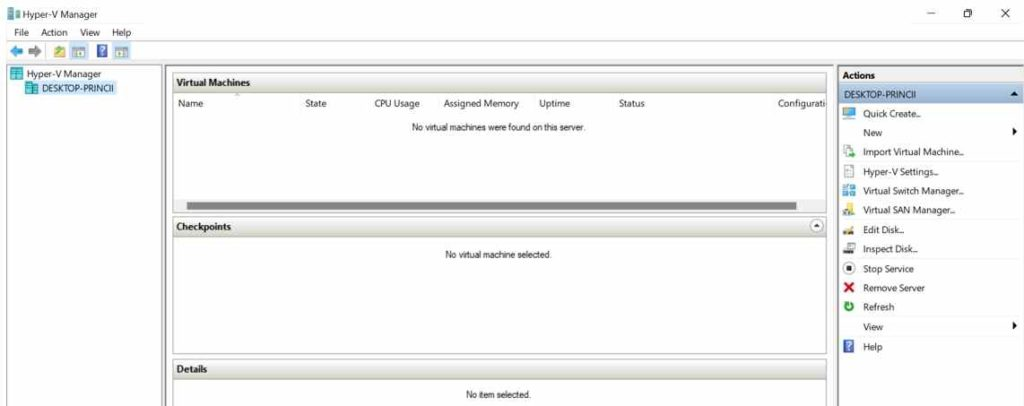
Step 4: Once the Hyper V Manager interface window loads, you need to click on the name of the PC in the left panel and select the “Quick Create” option in the right panel.
Step 5: Windows 11 Hyper-V Tips and Tutorials: Now select the operating system for which you wish to build a virtual machine. The best part is that Hyper-V comes pre-installed with Linux (Ubuntu).
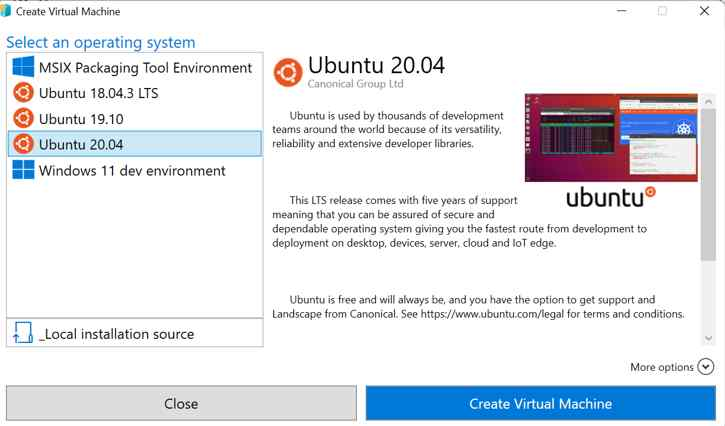
Step 6: Finally, click on “Create Virtual Machine” and wait for the process to complete.
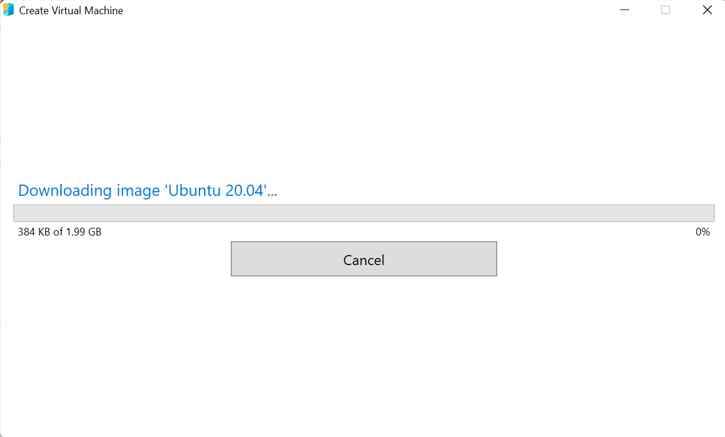
Step 7: Finally, click on the “Connect” button, and the virtual machine you just built will be launched.
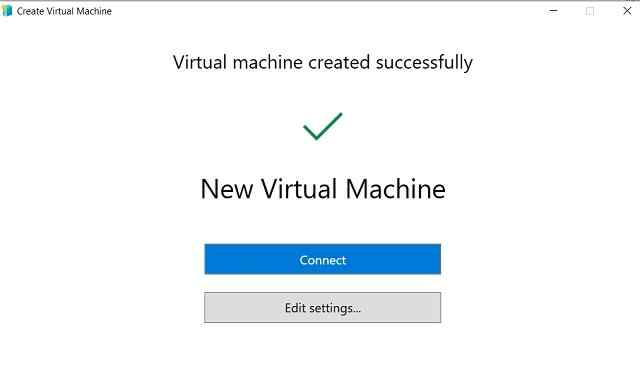
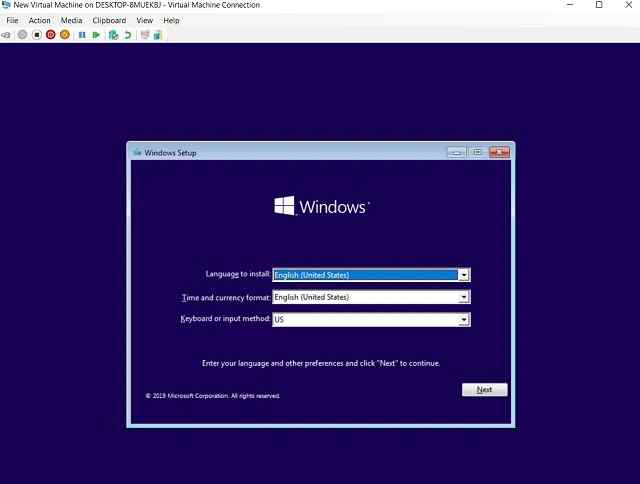
Step 8: Finally, the Hyper-V virtual machine is ready and you can install it as usual.
One final word on how Windows 11 Home enables Hyper-V
That’s it for the steps on how to enable hyper v in Windows 11 Home. We mentioned that the Home version of Windows 11 lacks a built-in hypervisor, however, enable it on the Home PC using the workaround above. In addition, third-party virtualization programs such as VirtualBox and VMware can be used on Windows 11 Home.