When it comes to executing media files, VLC is supreme to many people to the point that we can’t stop talking about some hidden VLC features that even the most avid VLC users don’t know about.
Known features include excellent video quality, codec independence, excellent control over subtitles, and one of the best crossover features with other devices. However, that’s not the purpose of this post. We will keep a separate post for this. Here, we will discuss the measures you can take if the video won’t play on VLC media player on Windows.
Different ways on how to fix VLC won’t play videos on Windows
1. Restart your computer
If VLC refuses to play videos on your computer and one of the easiest things that might fix this issue is to restart your computer. Restarting your computer clears all caches, even refreshes RAM, and even fixes any issues that may conflict with VLC.
2. Increase the cache value
Windows VLC Won’t Play Video Workaround: If your unrunning video is very heavy, more than 10 GB, then you can try increasing the cache value. Here are the steps to do the same –
1. Open VLC
2. Go to Tools
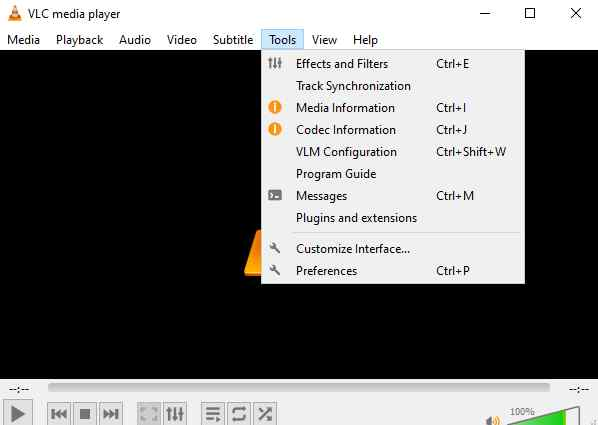
3. Go to Preferences 4.
Under Display settings, select All
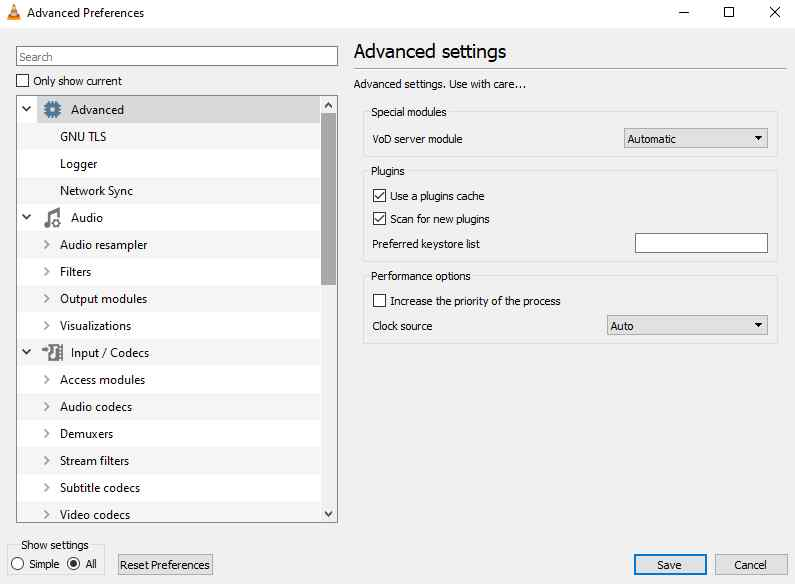
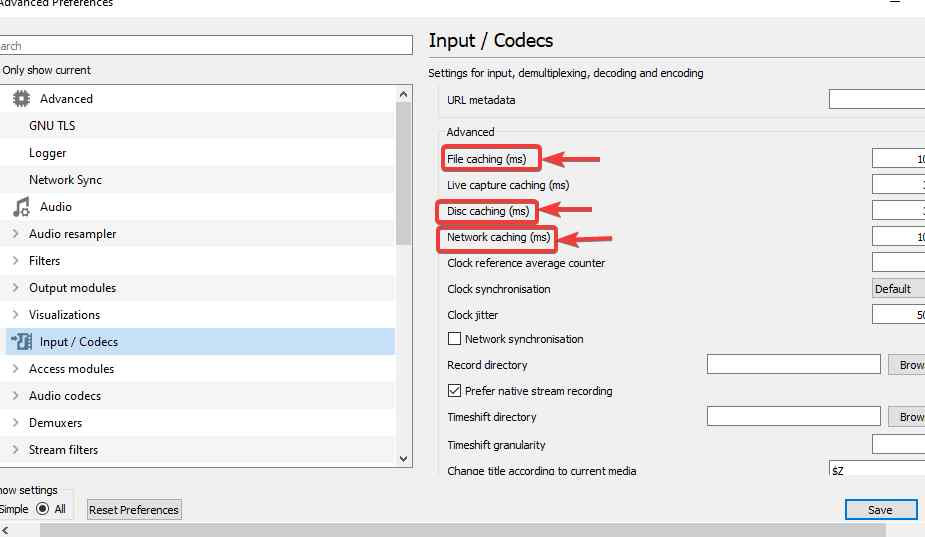
5. In the next window, select Input/Codecs
6. Change the values for File Cache (ms), Disk Cache (ms), and Network Cache (ms) to 1000 or 2000
3. Uninstall and reinstall the app
How to Fix VLC Not Playing Videos on Windows? If VLC is not playing videos on Windows 11, then you can completely uninstall it from your Windows 10/11 PC first and then reinstall it.
To do this, you can uninstall VLC Media Player through the Control Panel by opening the Control Panel > Click Programs and Features> Select VLC from the list of programs, and then click Uninstall at the top.
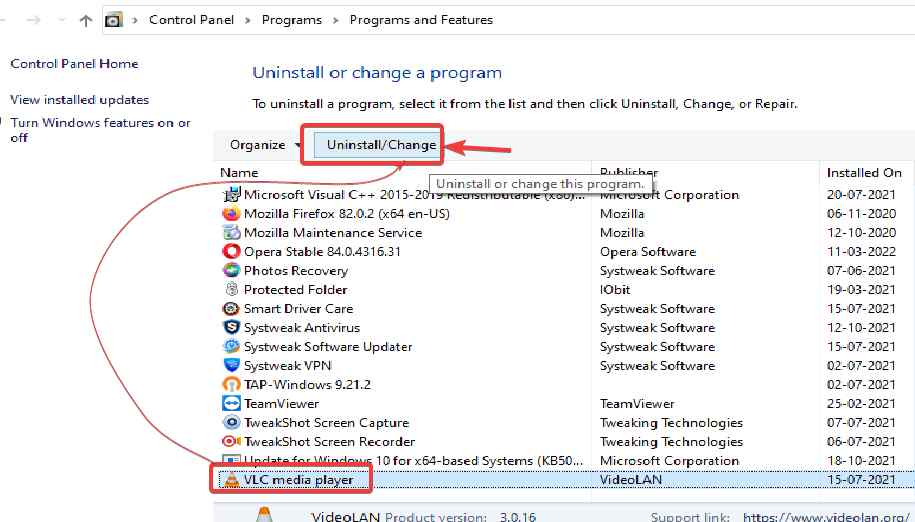
Once, you’ve completely removed VLC from Windows, reinstall, run, and download it from here.
In most cases, this workaround is known to resolve the issue. If not, you can move on to the next step.
4. Configure the video output mode
Workaround for Windows VLC Not Playing Videos: By configuring the video output mode, you have been able to fix the “VLC not playing videos” issue on Windows computer. To do this –
1.Open VLC Media Player2.Click
Tools > Preferences3.Click
Videos
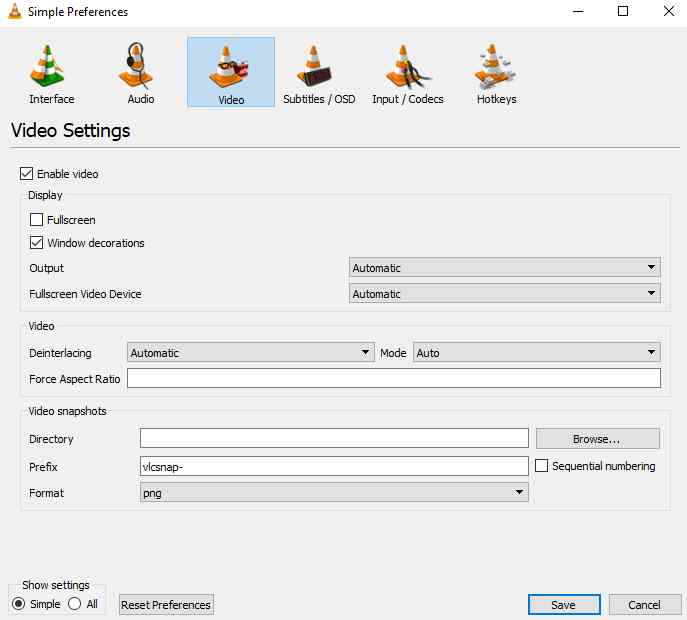
4. Click on the following checkbox-●Enable Video
●
Windows Decoration5.Select
X11 Video Output (XCB) from the drop-down list. If that doesn’t work, select the Open GL or Direct X option6.Click
Save
5. Update VLC and Windows
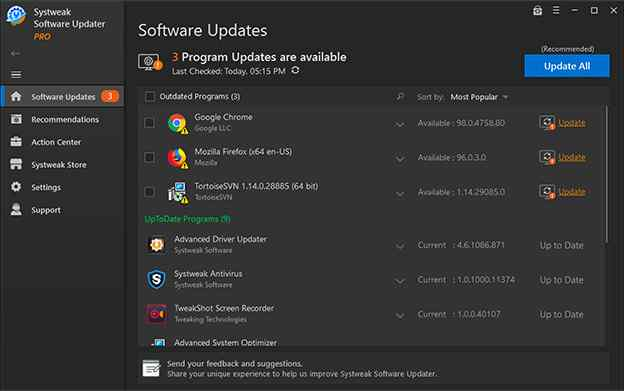
The importance of updates cannot be overstated, both from a Windows perspective and from a VLC perspective. Running an outdated version means saying no to new features. So, make sure to update VLC to the latest version, and the same goes for Windows 11/10.
For example, Systweak Software Updater is one of the best tools that allows you to get updates in a timely manner. Here’s a comprehensive review of Systweak Software Updater, where we go into more detail about the ins and outs of the tool. For any bugs that prevent you from updating Windows, you can visit this post.
6. Check the file format
How to Fix VLC Not Playing Videos on Windows? After downloading the video, check the file format. If the video you downloaded is AVI, MKV, or VID, there is most likely some error so VLC cannot play the video in such a file format. In this case, you can re-download the video while selecting MP4 as the option. One option is that you can choose from some of the best video converters to convert video to MP4.
Summary of the solutions for Windows VLC not playing videos
Please let us know if you are able to fix VLC not working or VLC not playing video files. If we’ve missed something, let us know in the comments section below