File Explorer is one of the main programs of Windows. It organizes all the files and folders for users to access easily. To be more efficient, File Explorer opens to a quick access page in Windows 10 by default. It’s not any location, but just a page that shows the files that the user has recently opened or modified. However, sometimes a message to handle it on Windows 10 File Explorer may appear on the Quick Access page. This can be annoying as it prevents you from accessing your files and may freeze File Explorer for a while. If you’re dealing with the same problem, you’ve come to the right place. We have brought you a perfect guide that will help you fix Windows 10 slow file explorer handling it and Windows 10 file explorer not responding when it handles it.
How to Fix Windows 10 File Explorer Processing Error
File explorers are usually reliable and don’t have any issues, so it can be difficult to figure out what’s behind the Working on it error. Here are some possible reasons.
- Quick access issues: As users keep opening new files and folders, the quick access page is constantly updating its contents. It may cause File Explorer to slow down and give a message to deal with it.
- Cache files: Corrupted cache files can cause this error.
- Glitches: Some applet glitches or technical issues in File Exploration can also be the cause of this issue.
After knowing what causes the Windows 10 File Explorer Working on it error, let’s see some ways that you can fix this issue. We’ll start with some basic troubleshooting methods and move on to the more complex ones.
Method 1: Basic troubleshooting steps
Workarounds for Windows 10 File Explorer Handling Errors: We recommend that you start with these basic troubleshooting methods. Usually, they fix the problem and fix the Windows 10 file explorer not responding issue.
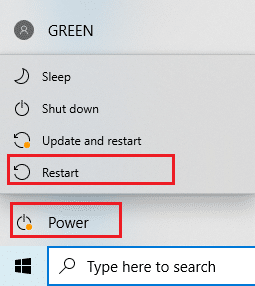
1. Restart PC: Many minor errors in your Windows PC can be resolved by simply restarting your PC. It fixes glitches and bugs and flashes the PC. You can use our guide on how to reboot or restart your Windows PC and check if it fixes the issue.
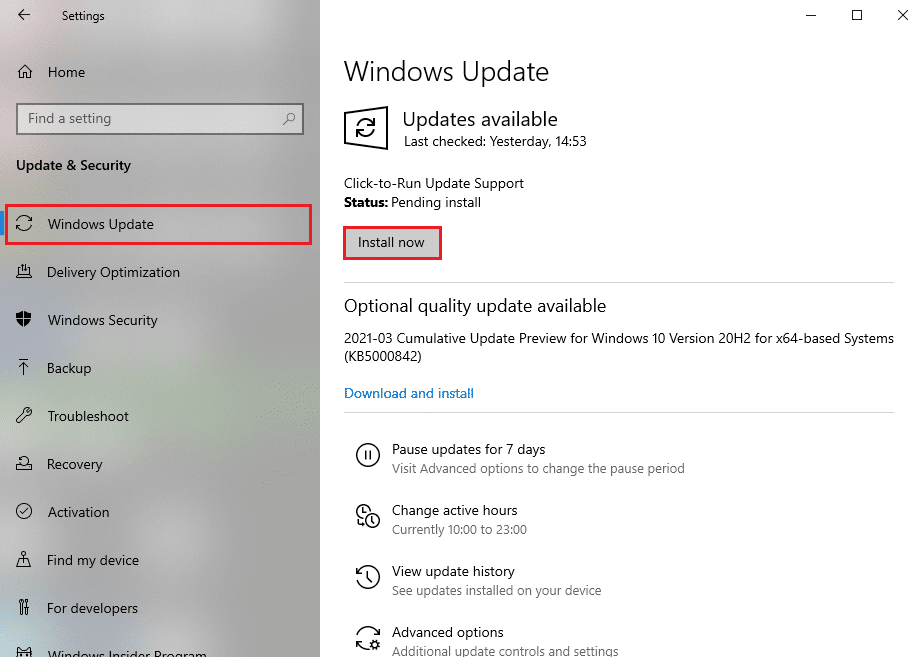
2. Check for Windows updates: Running an outdated version of Windows can cause many system issues and errors. You can follow our guide to download and install the latest Windows 10 update and update to the latest version of Windows. Check to see if it fixes the issue that Windows 10 File Explorer is working on.
Method 2: Modify the default page of File Explorer
Windows 10 File Explorer Handling Error Repair Tutorial: As mentioned earlier, File Explorer opens by default on the Quick Access page, and how it causes Windows 10 to run File Explorer on it with slower response times. Changing File Explorer’s default launch page to this PC may resolve the issue. You can do this by following the steps below.
1. Press the Windows + E keys at the same time to open File Explorer.

2. Click on the “View” option in the top left corner to switch to the “View” tab.
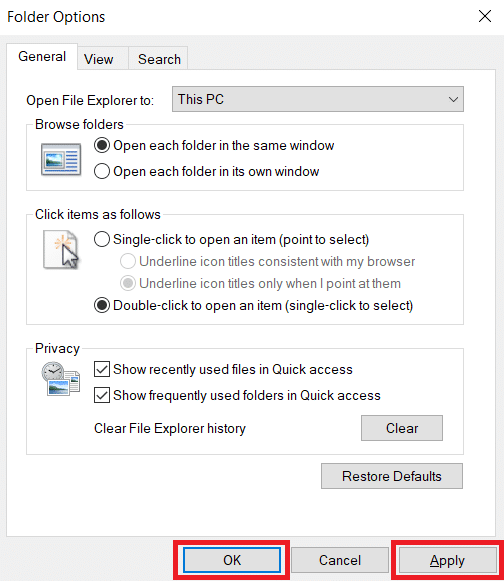
3. In the View tab, click on Options, as shown in the image. It will open the Folder Options window.

4. Click the drop-down menu next to Open File Explorer to: and select This PC.
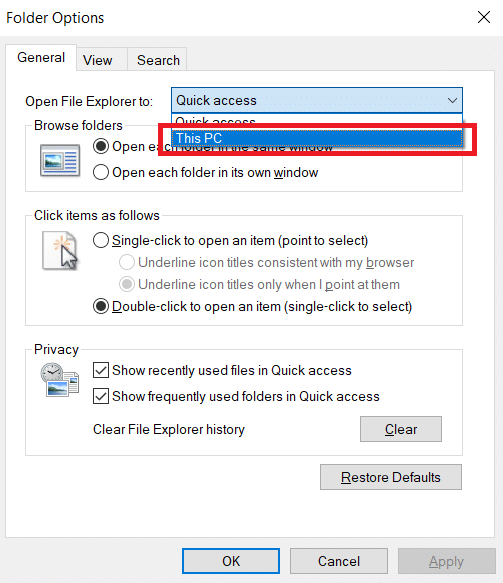
5. Click Apply and OK to save the changes.
6. Close File Explorer.
Now, when you open File Explorer again, this PC page will appear instead of Quick Access.
Note: If you’re still having trouble, go back to the folder options and click the “Clear” button next to “Clear File Explorer History” in the “Privacy” section. After that, click Apply > OK. It will delete all recent activity from the quick access page and start over. It might solve the problem.

Method 3: Clear the File Explorer cache
How to Fix Windows 10 File Explorer Processing Error?Cache and other temporary files can get corrupted and cause the program to malfunction. Corrupted cache files of File Explorer can cause issues with Windows 10 File Explorer handling it. You can resolve this issue by clearing File Explorer’s cache. To do this, follow the steps below.
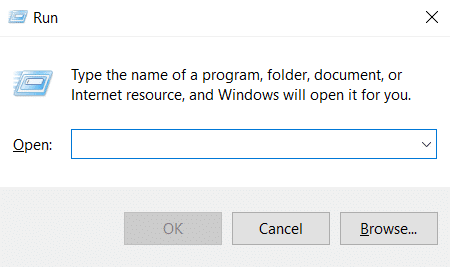
1. Press the Windows + R keys at the same time to open the Run dialog box.
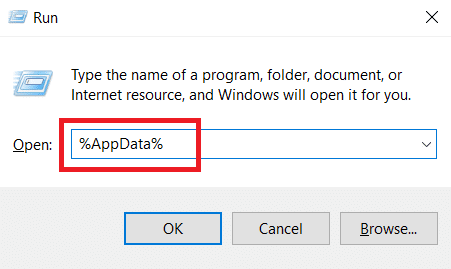
2. Enter %AppData% and click OK to open the Roaming folder.
3. In the roaming folder, go to this path.C:\Users\ACER\AppData\Roaming\Microsoft\Windows\Recent

4. Press Ctrl + A keys at the same time to select all the files in the Recent Projects folder.
5. Once you have selected all the files, right-click on any file and select Delete to delete all the files.
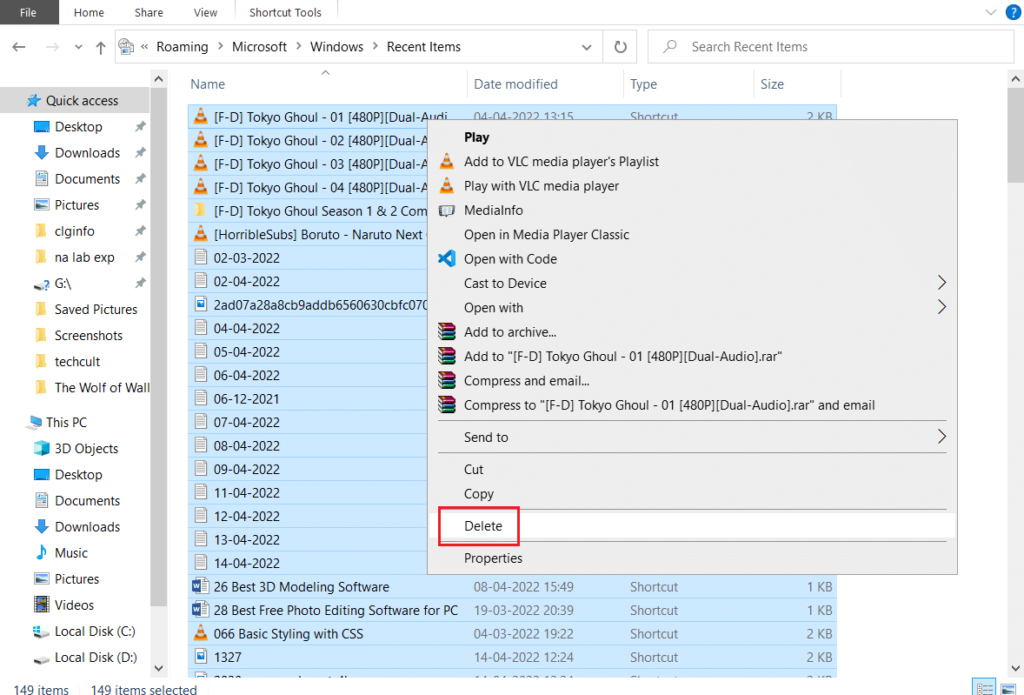
This will clear all cache files in File Explorer. Check that the Windows 10 File Explorer that handles the issue has been resolved.
Method 4: Optimize folders
Workaround for Windows 10 File Explorer Handling Error: Some users have reported that they were able to fix this issue by optimizing the folder that showed the “Processing It” error for regular projects. It displays all the files without any special type of viewing options and is best suited for folders containing various types of files. It can load the contents of the folder faster, which solves the problem. Here’s how you can do that.
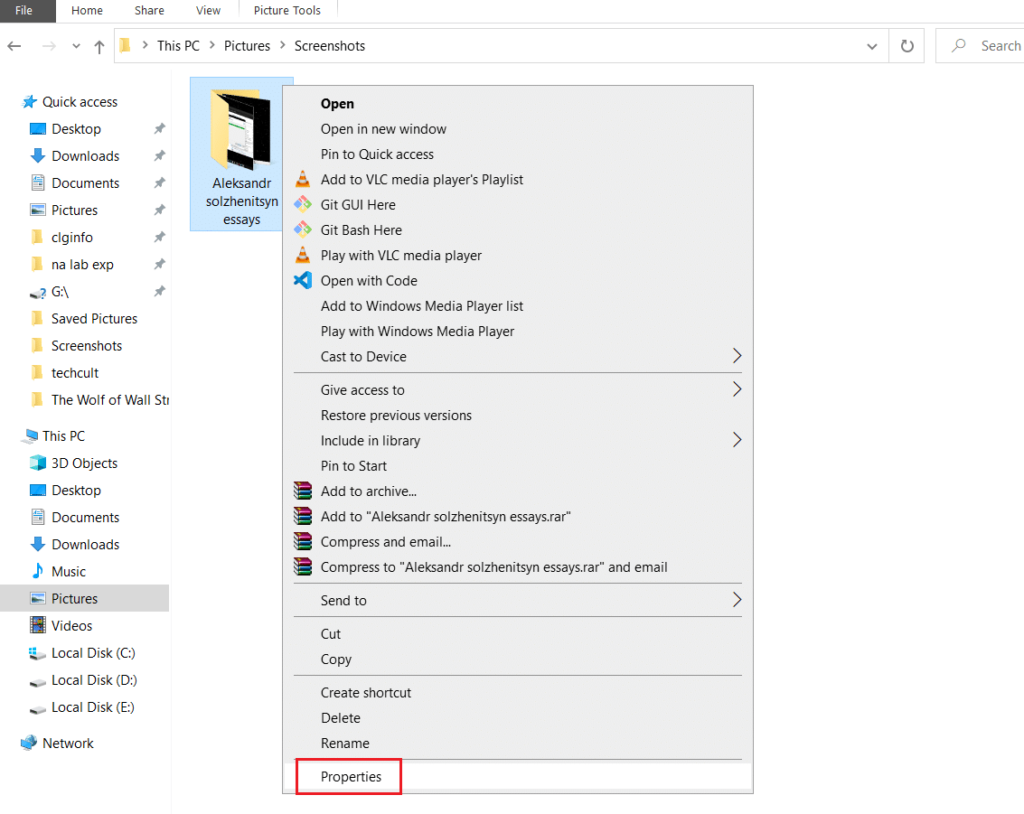
1. Right-click on the folder where you are facing File Explorer processing error and select Properties. It will open the Properties window.
2. Switch to the Customize tab and click the drop-down menu below Optimize this folder: select General Items.
Note: If you want this optimization to be applied to other folders within the folder in question, you can check the box labeled Apply this template to all subfolders.
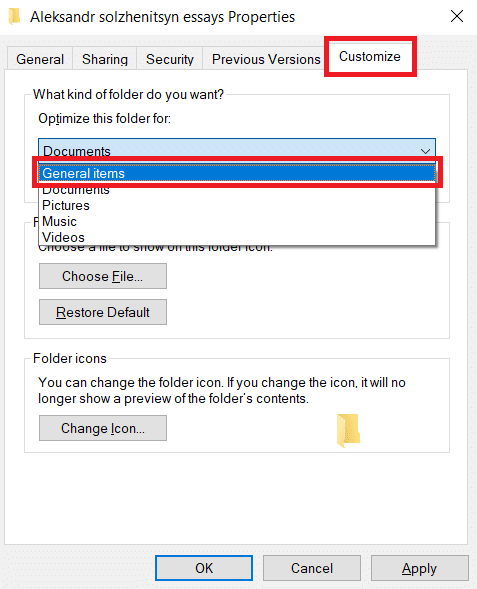
3. Click Apply and OK to save the changes.

Check if the File Explorer slowness issue that Windows 10 runs on has been resolved.
Note: If that doesn’t work, try closing all processes connected to OneDrive by going to Task Manager and using the End Task option. You can read our article to end a task in Task Manager.
Method 5: Reset the search index
Windows 10 File Explorer Handling Error Repair Tutorial: Windows stores all of our searches in an index to provide fast and efficient search results. Sometimes loading this index can slow down File Explorer and cause the error in question. You can reset this index and delete all previous searches for faster loading. It might solve the problem. Follow the steps below to do the same.
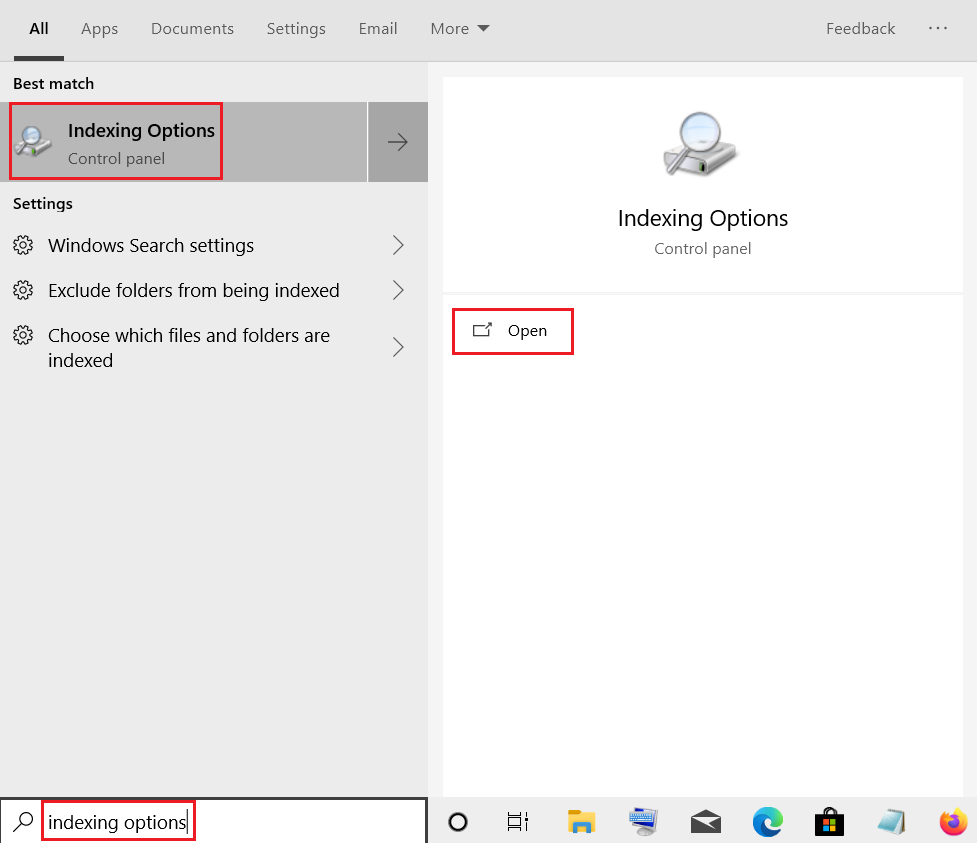
2. Press the Windows key, type the index option, and click Open.
3. Click the Advanced button. Confirm any prompts that appear. The Advanced Options window opens.
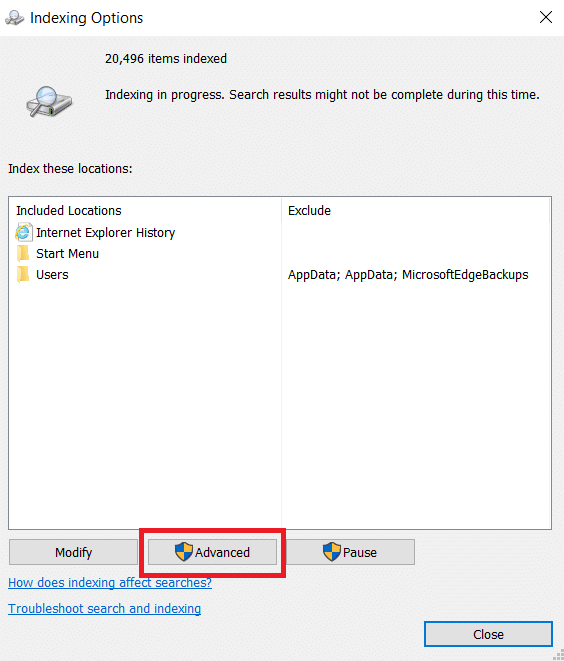
4. Click the Rebuild button next to Delete and Rebuild Index in the Troubleshooting section.
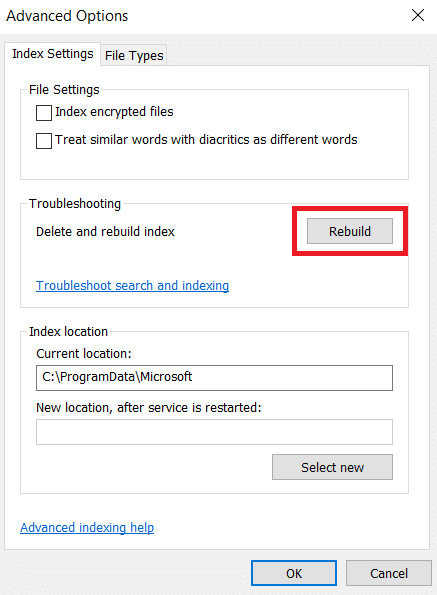
5. Click OK in the confirmation prompt and wait for the rebuild process to complete.
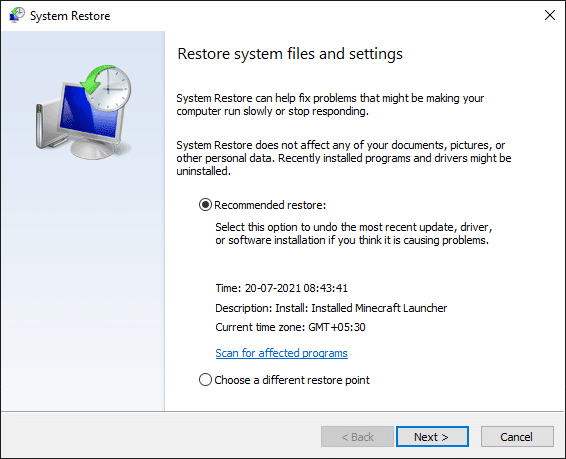
Method 6: Perform a system restore
How to Fix Windows 10 File Explorer Processing Error?The System Restore option will restore your computer to its previous version and run File Explorer in that particular version before you experience the problem. It might fix the problem, and you can follow our guide on using System Restore on Windows 10. This should finally resolve the Windows 10 File Explorer error handling it.
Note: Use this method only if other methods don’t work for you.
We hope you found this guide helpful and that you were able to fix the error that Windows 10 File Explorer handles it. Let us know which method works best for you. If you have any questions or suggestions, feel free to drop them in the comment section.