If you’re experiencing a low storage space message and find it difficult to free up memory, the best way to do this is to find a large file on Windows 10. This will help to know exactly which files are unwanted and you can delete them and thus restore the storage space.
But how does Windows 10 find the largest files?
Well, there are various ways to find large files on Windows 10. You can use the built-in tools or use third-party apps like Disk Analyzer pro. This app will do the job for you in no time. In addition, it helps to clean up junk files, temporary files, and duplicate files; Another common reason for wasting storage space is that your PC is slow and slow.
Either way, you’ll be able to free up space taken up by unnecessarily large files.
Once you can find such files, duplicate files, you can decide what to do with them. If you don’t want to delete them, you can move them to an external drive or cloud storage; This will help free up space on the hard drive you are using.
How to use the easiest and quickest way to find large files in Windows 10
Method 1: How to Use Disk Analyzer Pro to Automatically Detect Large Files?
The tutorial on how to find the largest files in Windows 10 is as follows:
1. Download, install, and launch Disk Analyzer Pro.
2. You’ll now see a welcome screen where you can decide if you want to run the tutorial or just continue using the product.
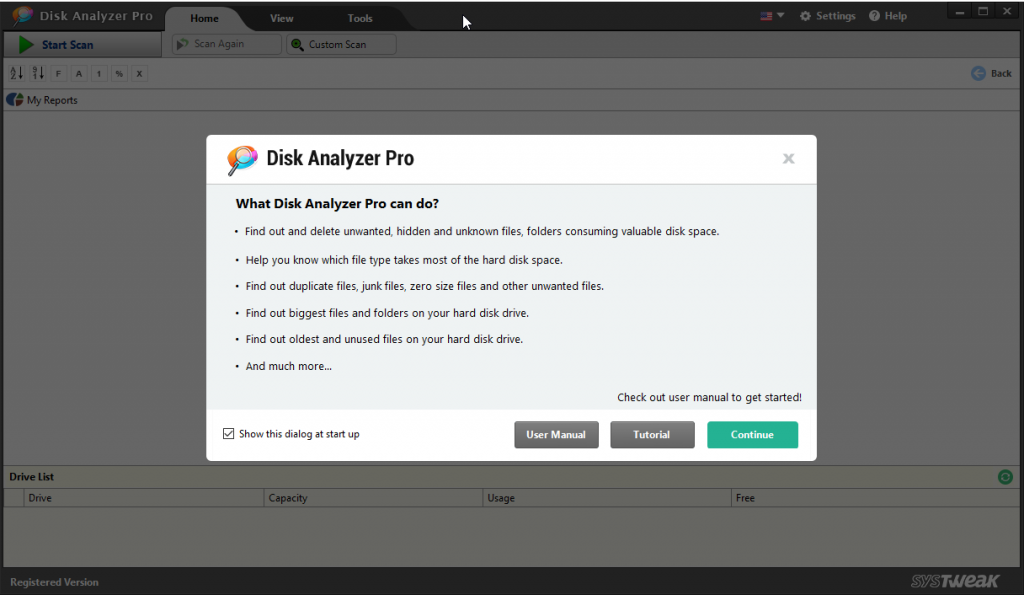
3. To continue, click Continue
4. Select the drive you want to analyze or click Add Folder to scan a specific folder

5. Wait for the scan to complete.

6. Once the scan is complete, you’ll see a list of items and an overview of all your files.

7. To sort the scan results by the largest file, click the View tab > File List > Large Files.

8. You can now see all the large files. Next to the bottom bar, you’ll see the total number of files on the disk, their size, and their size.

9. If you want, you can use the file filter to get more accurate results or say custom results.
10. Once you have the result, decide to delete any file, select it and click Delete Selected File(s). However, if you want to preview the file before deleting it, you can select the “Preview” option from the context menu. Select the file you want to preview > right-click on > Preview.

11. Nonetheless, if you want to remove the duplicates again, click the View tab > File List > Duplicates.

Select the parameters about how you want to sort the duplicates and all settings.
Using these simple steps, you can find large files in Windows 10 and delete them immediately or move them to a different location. This will help free up space on the system and will also make the slow system faster. However, if you want to do it all on your own, we’ve got you covered.
Read further to learn the manual steps on how to find and delete large files on Windows 10
Method 1: Find large files through File Explorer
How do I find the biggest files in Windows 10? With the built-in file explorer, you can easily organize your files and see hidden files.
To use File Explorer, follow these steps:
1. Press Windows + E to launch File Explorer.
2. Click the View tab and check the hidden items from the Show/Hide section. This will help File Explorer bring more accurate results and be able to search for large files even when hidden.

3. To start searching for files, click on the search box in the top right corner of File Explorer. This will show a new tab next to the view. However, if it doesn’t appear, you can search for a word and then you can view it.
4. To search for large files, click the down arrow next to the size and select an option based on your selection.

5. After that, enter the search term in the search window and select the location; If you want to scan your entire PC, click on this PC.
6. Wait for the scan to complete.

7. Once you have all the results, right-click on any space in File Explorer and click Sort by. Next, select the size and descending order. Doing so will put the largest file at the top of the list.

That’s it. You can now use File Explorer to find large files.
Method 2: Use the Command Prompt to Find Large Files
Windows 10 Tutorial on how to find the largest files: Command Prompt uses a scripting language or a set of commands to do whatever you want. Using it, you can check the large files in every folder, subfolder on your system. To use it, follow these steps:
1. Open the elevated Command Prompt. To do this, type Command Prompt > in Windows Search Right-click > to run as administrator.
2. Now enter the following command in the Command Prompt window and hit > Enterforfiles /S /M * /C “cmd /c if @fsize GEQ 1073741824 echo @path > largefiles.txt
3. The command will list all files larger than 1GB and create a text document named “largefiles.txt” with the corresponding locations.

/S: It instructs forfiles to recursion to subdirectories.
/C: Indicates the command executed on each file, and the command string is enclosed in double quotes. If you want to execute internal CMD.exe commands, they should start with cmd /c.
Using either of the above steps, you can scan your system for the largest files and eliminate them to make space on your hard drive. This not only helps to clean up the system but also optimizes performance. We hope you enjoyed this article and found it useful. Please let us know which method you chose and why along with the comment section. We’d love to hear from you.