GCC is one of the most popular tools used by developers working on the Linux platform. It integrates compilers of several popular programming languages like Java, C, C++, Fortran, and more. If you’re starting your journey with Linux, then what better option than Ubuntu. Ubuntu is the most well-known of all Linux distributions. It is known to be easy to learn while not affecting the functionality of things. So, if you need to know how to install GCC on your Ubuntu system, this article is a perfect place to start. We’ll explore how to download and install GCC on Ubuntu in the following sections. But before that, let’s learn more about GCC.

How to install GCC on Ubuntu
GCC (GNU Compiler Collection) is a set of tools for compiling source code from various programming languages into binaries, executables, or libraries. GCC is a command-line compiler that can be installed on Ubuntu.
- The GCC compiler, along with many of the libraries and other tools needed to build the application, is included as build-essential in the default Ubuntu repository.
- GCC supports C, C++, Java, Objective-C, Go, Fortran, Ada, and many more programming languages.
- Many open source projects, including the GNU utility and the Linux kernel, require GCC to build their code.
This tutorial will show you how to set up the GCC compiler on Ubuntu 18.04. We’ll teach you how to install the stable version of the distro as well as the latest version of GCC. The steps are the same for Ubuntu 16.04 and any Ubuntu-based distro such as Kubuntu, Linux Mint, and Elementary OS.
Note: You must be logged in as root or as a user with sudo privileges to create a new repository and install packages on your Ubuntu system.
Method 1: Use the Ubuntu terminal
Step-by-step tutorial on installing GCC on Ubuntu: To set up GCC on Ubuntu, you need to download and install the build-essential package. Open a terminal window to download GCC Ubuntu. Follow the given steps to install GCC on Ubuntu via Terminal.
Option 1: Install a specific GCC version
1. Press Ctrl + Alt + T keys at the same time to launch the terminal window on your desktop.
Note: Alternatively, go to the Applications menu and search for Terminal.

2. Once the terminal window is open, use the installation command below to install the build-essential package on Ubuntu.
sudo apt install build-essential
Note: The Sudo command prompts you for your password. Users can use this command to run a single task as root.

3. Ubuntu will prompt you for your password. Enter your user password to continue.
4. Once you provide the password, the terminal prompt will collect all the dependencies of the build-essential package. Ubuntu will then ask you if you want to install the package. To continue, press the Y key. When you press the Y key, Ubuntu will start installing GCC on your machine.
5. This process should not take more than a few minutes. Using the man gcc command, you can browse the GCC documentation after the program is complete.
Option 2: Install multiple GCC versions
While most Ubuntu users will be happy with the build-essential package because it includes GCC 10, it’s not the only GCC version available. Support for other languages, improved performance, and expanded functionality are all included in newer versions of the GCC compiler. You can choose to install various versions of GCC on Ubuntu. Here’s how to download gcc ubuntu.
1. First, on your Ubuntu desktop, open a terminal window.
2. Once opened, use the following command to search for available GCC packages in the Ubuntu software repository:
APT searches for GCC

3. Use the prompts to search for the GCC version you want to install on Ubuntu. GCC 7, GCC 8, 9, and 10 will be available for installation.
4. Once you’ve found the version you want to install on your Ubuntu PC, install GCC using the apt install instructions below. GCC-7, GCC-8, GCC-9, and GCC-10 are GCC packages.
5. Install GCC version 7 on Ubuntu.
sudo apt install gcc-7 g++-7

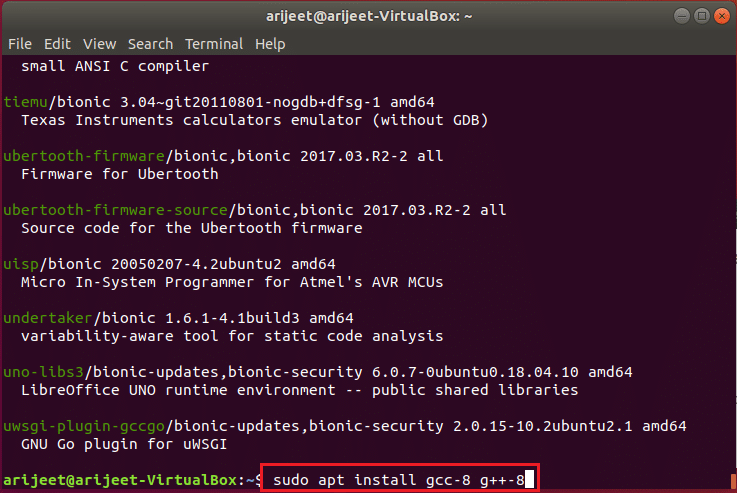
6. Install GCC version 8 on Ubuntu.
sudo apt install gcc-8 g++-8
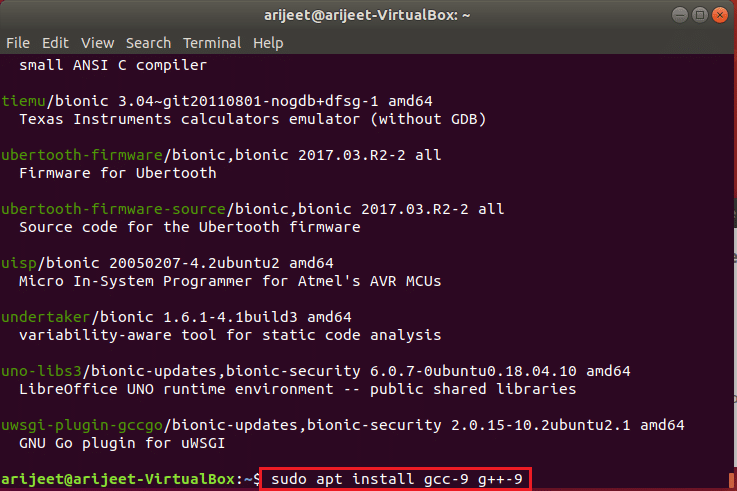
7. Install GCC version 9 on Ubuntu.
sudo apt install gcc-9 g++-9
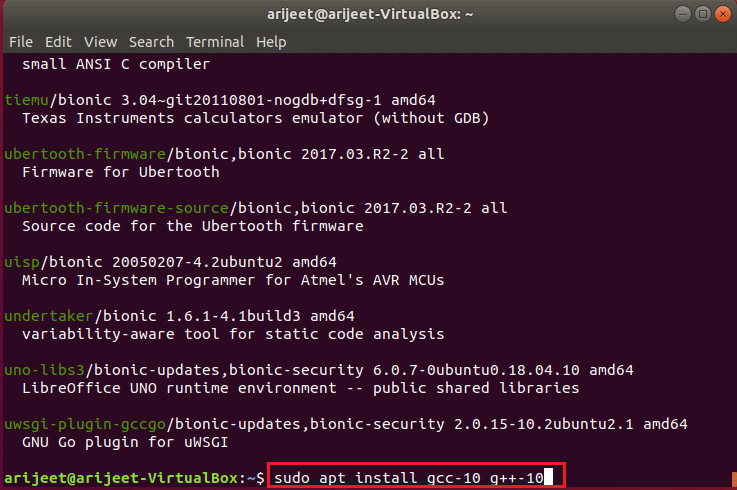
8. While it is highly recommended to install the build-essential package to get GCC 10 to run on Ubuntu, it is not the only option. Installing gcc-10 and g++-10 packages will also install GCC 10.
sudo apt install gcc-10 g++-10
Method 2: Through the Synaptic Package Manager
Ubuntu Install GCC Step-by-Step Tutorial: If you don’t want to use the console to install GCC on Ubuntu, you can use the Synaptic package manager instead of downloading GCC in ubuntu.
Option 1: Install a specific GCC version
How to install GCC on Ubuntu? Follow these steps to install GCC via the Synaptic package manager.
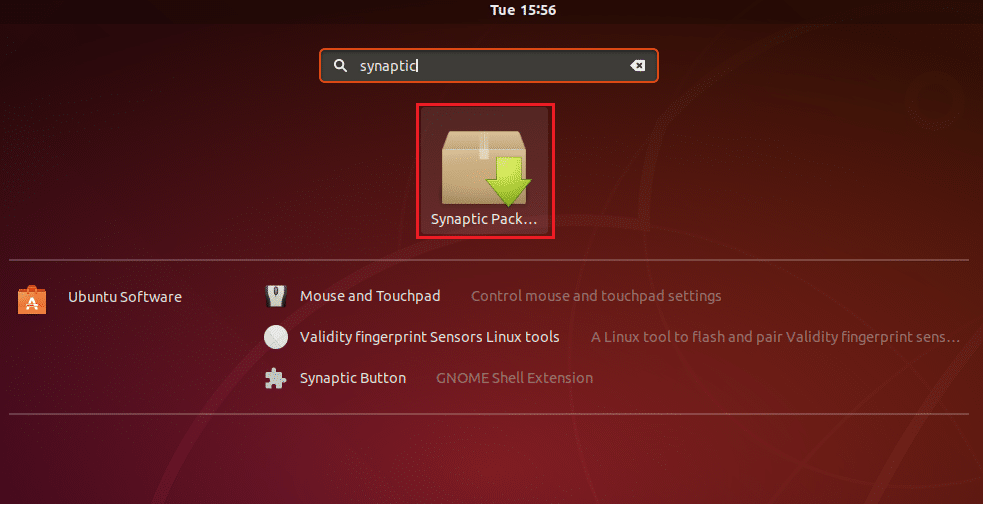
1. First, make sure you have Synaptic installed. To get Synaptic, go to the Ubuntu software program and search for Synaptic, then install it.

2. Once installed, open the Synaptic Package Manager by searching in the app menu.
3. Then, at the top-right corner of the screen, look for the Search button.
4. To display the search results, select the Synaptic search button and type build-essential, then press Enter.
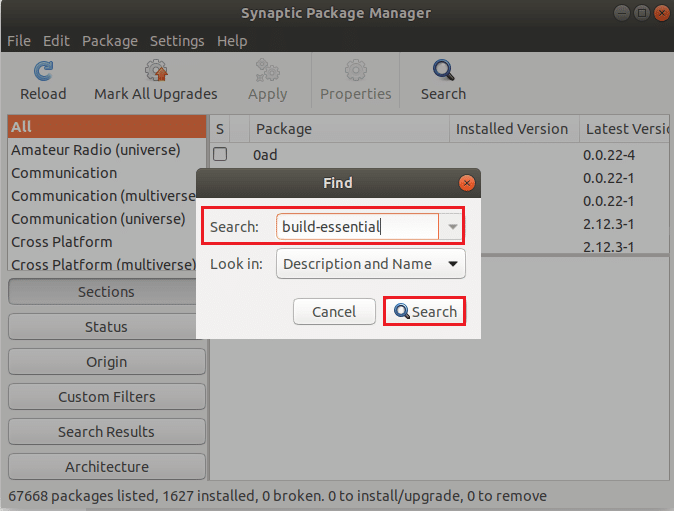
5. Look for build-essential in the Synaptic search results.
6. Once you’ve identified it, right-click on it and select Specify Installation Options to mark the build-essential package for Synaptic installation.
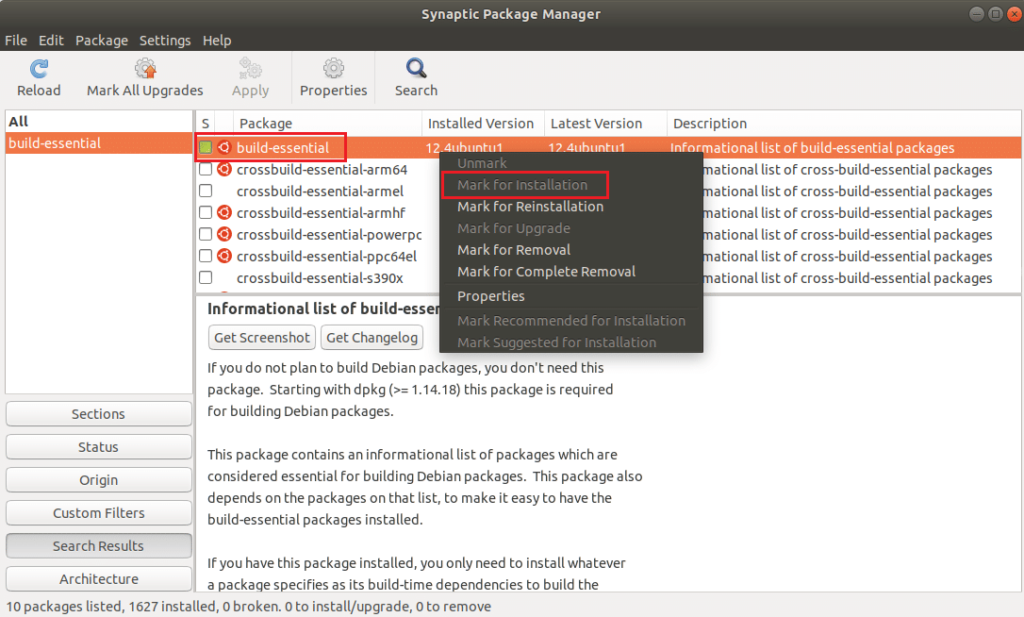
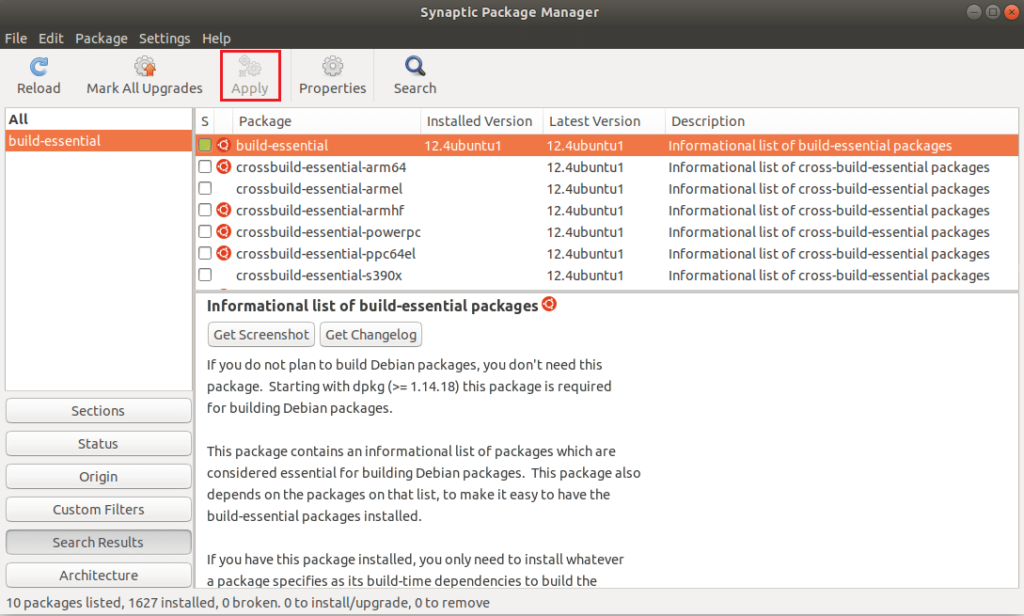
7. In Synaptic, find the Apply button and click on it to start installing GCC on Ubuntu.
Option 2: Install multiple GCC versions
How to install GCC on Ubuntu? To install a different GCC version in Ubuntu than the one provided by the build-essential package, follow these steps.
1. First, open the Synaptic Package Manager.
2. Once Synaptic is open, click the Search button.
3. Then select a product from the list below and enter it into the search box.
- GCC 7:gcc-7,g++-7
- GCC 8:gcc-8,g++-8
- GCC 9:gcc-9,g++-9
- GCC 10:gcc-10、g++-10
4. To install the GCC package you found in Synaptic, right-click on it and select the Apply button.
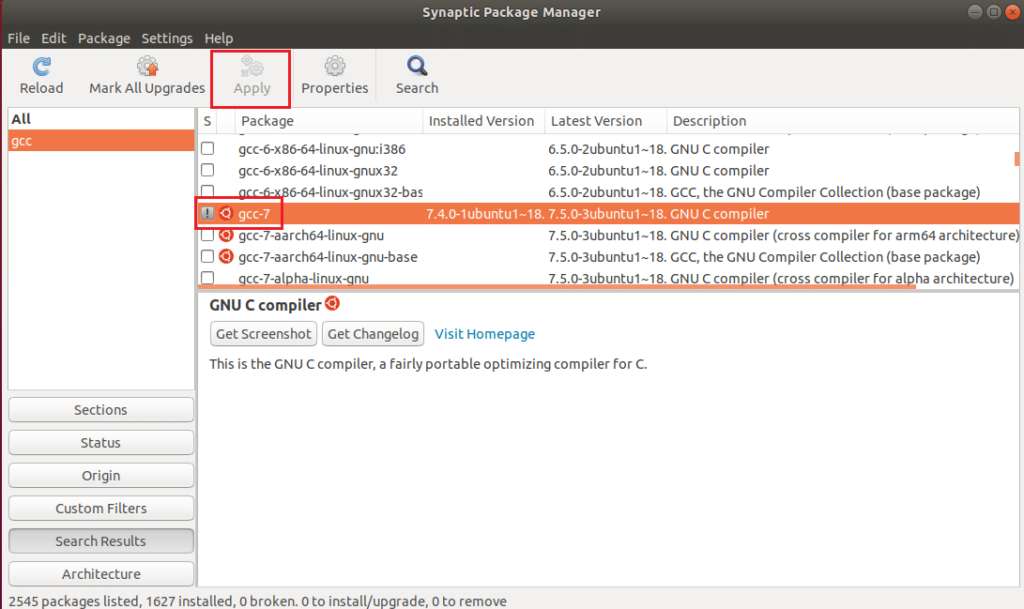
5. Repeat this process as needed, installing as many versions of GCC as you want on Ubuntu.
Frequently Asked Questions (FAQs)
Q1、Is GCC already installed on your Ubuntu?
Answer. On all Ubuntu desktop variants, the GCC package is installed by default.
Q2、Which command is used to install GCC?
Answer. Depending on your Linux distribution, install GNI C/C++ (GCC) and the required libraries using the up2date command, yum command, or apt-get command.
Q3: What is the purpose of Ubuntu?
Answer. Ubuntu has everything you need to manage a company, school, house, or business. All major software, such as office suites, browsers, email, and media applications, are pre-installed, and the Ubuntu Software Center has hundreds of additional games and applications.
We hope this article has been helpful in understanding how to install gcc Ubuntu. You can find more technology-related articles on our website. If you have any suggestions or feedback on this article, you can contact us in the comments section below.