Introduction to the CentOS Jenkins installation tutorial
Jenkins is an open-source software package for continuous software development. It is used to automate the build, test, delivery, and deployment parts of an application.
Jenkins is based on Java and provides assistance in every part of the software development process.
How do I install Jenkins on CentOS? This guide will show you how to install Jenkins on CentOS 8.
A brief note about Jenkins
Jenkins is a CI/CD software application. CI stands for Continuous Integration and refers to the implementation of changes throughout the software development process. CD stands for Continuous Delivery and refers to the continuous flow of updates for an application.
How do I install Jenkins on CentOS? Jenkins requires Java to run. It works with Java 8 or Java 11, but some plugins are not compatible with Java 11. This guide uses the open source Java JDK 8 environment. The JDK stands for Java Developer Kit, and it contains all the files needed to run Java applications.
Step 1: Install Java
Install Java 8 on your system. If you’ve already installed Java 8 and set it as the default, skip to step 2.
Open a terminal window and enter the following:
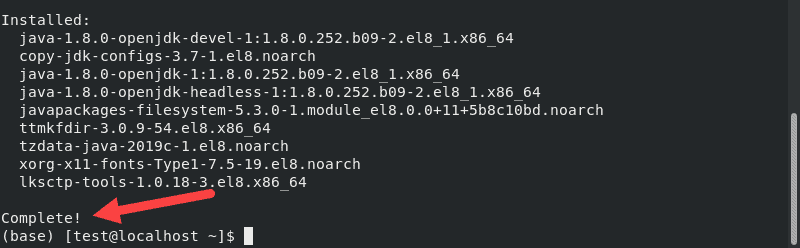
sudo dnf install java-1.8.0-openjdk-develThe repository will be scanned and then prompted for confirmation. Type y and press Enter. Allows the system to download and install Java.
Step 2: Add the Jenkins software repository
How do I install Jenkins on CentOS? Jenkins is not included in the default CentOS software repository. To add a Jenkins repository, open a terminal window and enter the following:
sudo wget –O /etc/yum.repos.d/jenkins.repo http://pkg.jenkins-ci.org/redhat-stable/jenkins.repoThe system will contact the Jenkins server and download the location of the repository to your system. It should show /etc/yum.repos.d/jenkins.repo saved.

Add repositories manually – In some cases, repositories won’t download correctly. To manually add a repository, enter the following:
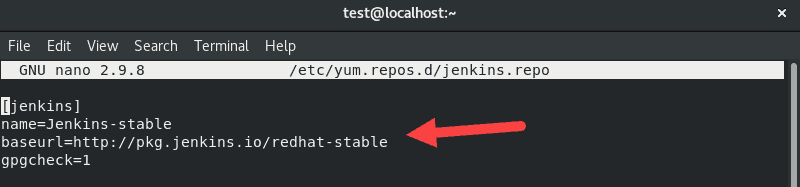
sudo nano /etc/yum.repos.d/jenkins.repoThis will open the jenkins.repo file for editing. Enter the following lines:
[jenkins]

name=Jenkins-stable

baseurl=http://pkg.jenkins.io/redhat

gpgcheck=1
Save the file ( ctrl-o) and exit ( ctrl-x). The file should look like this:
Next, import the GPG key to make sure your software is legitimate:
sudo rpm ––import https://pkg.jenkins.io/redhat/jenkins.io.keyIf the process is successful, the system will return a new command line with no errors.
Note: You may have noticed that the repository lists Red Hat, but your system is CentOS. This is because CentOS is based on the Red Hat Linux architecture.
Step 3: Install Jenkins on CentOS 8
How do I install Jenkins on CentOS? To install Jenkins on CentOS 8, enter the following in the terminal:
sudo dnf install jenkins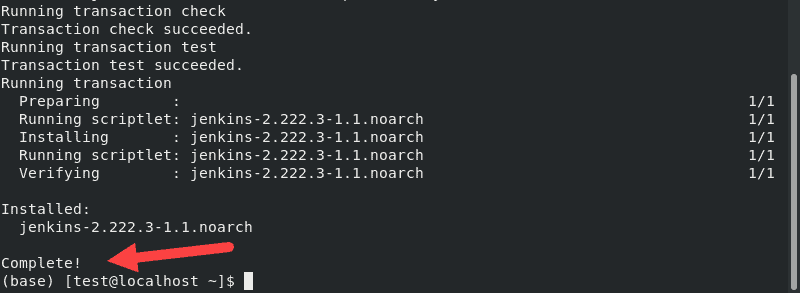
If you get an error that mentions “Jenkins not found“, go back and manually add the repository as outlined in the previous step.
You’ll be prompted to confirm the installation. Type y, press Enter, and let the installation complete.
CentOS Jenkins Installation Tutorial: Start the Jenkins service
To start the Jenkins service and enable it on startup, enter the following:
sudo systemctl start jenkins
sudo systemctl enable jenkins
To display the status of the Jenkins service, enter the following:
sudo systemctl status jenkins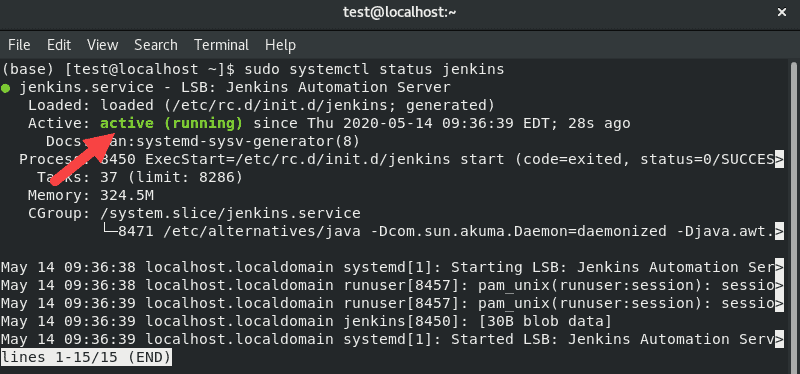
Step 4: Set up a firewall to allow Jenkins
How do I install Jenkins on CentOS? The Jenkins service uses port 8080 to communicate. If you’re using the default firewalld service, enter the following command to allow access:
sudo firewall-cmd ––permanent ––zone=public ––add-port=8080/tcp

sudo firewall-cmd ––reload
The system reports the success of each command.
If you are using a different firewall, follow its instructions to allow TCP traffic on port 8080.
Step 5: Run and set up Jenkins on CentOS 8
How do I install Jenkins on CentOS? Next, you’ll test your system to make sure Jenkins is working properly. Open a web browser and enter the following URL:
http://localhost:8080If your server is remote or has a specific hostname, domain name, or IP address, use it instead.
The browser should display the Unblock Jenkins page. It will ask you to enter a temporary password.
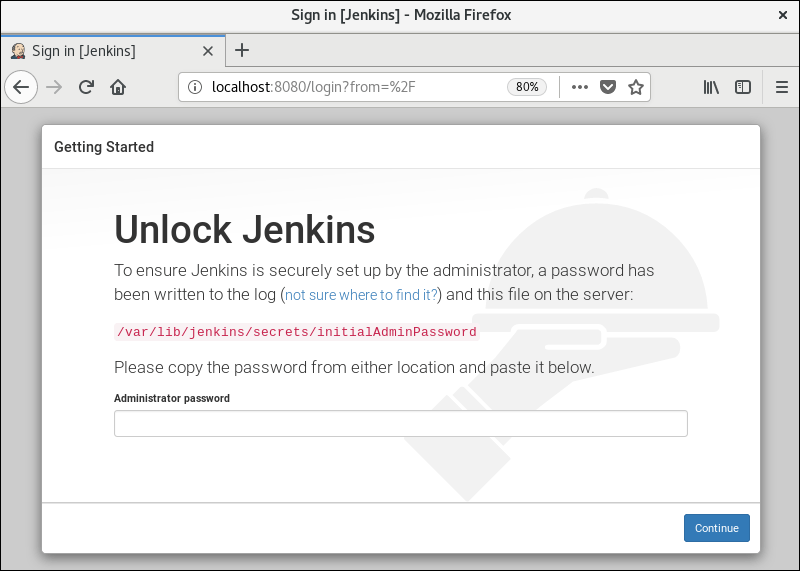
This password is created automatically (but not displayed) during the installation process. To find it, switch to the terminal window and enter the following:
sudo cat /var/lib/jenkins/secrets/initialAdminPasswordThe location is shown on the Getting Started/Unlocked Jenkins page.
An alphanumeric code will be displayed. Copy this code and paste it into the password field. Then click Continue.
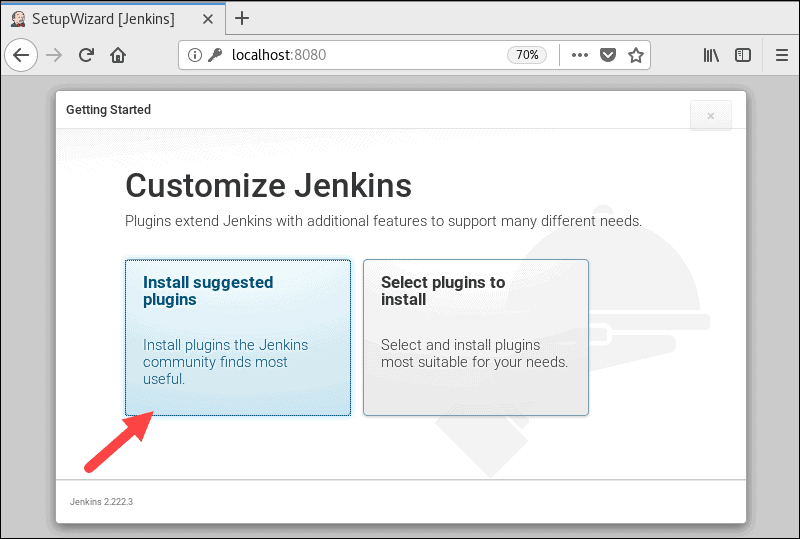
Jenkins prompts you to install the plugin. It is recommended that you install the recommended plugins. You can always change or customize the plugin later.
How do I install Jenkins on CentOS? Once the plugin is configured, you’ll be prompted to create your first admin user. Enter the values you want for your Jenkins administrator, and then click Save and Continue.
The last page will show the Instance Configuration. This shows the hostname configured for Jenkins. This is usually the same hostname that you type into your browser to access the Getting Started page. If you don’t create an admin user, a warning will appear.
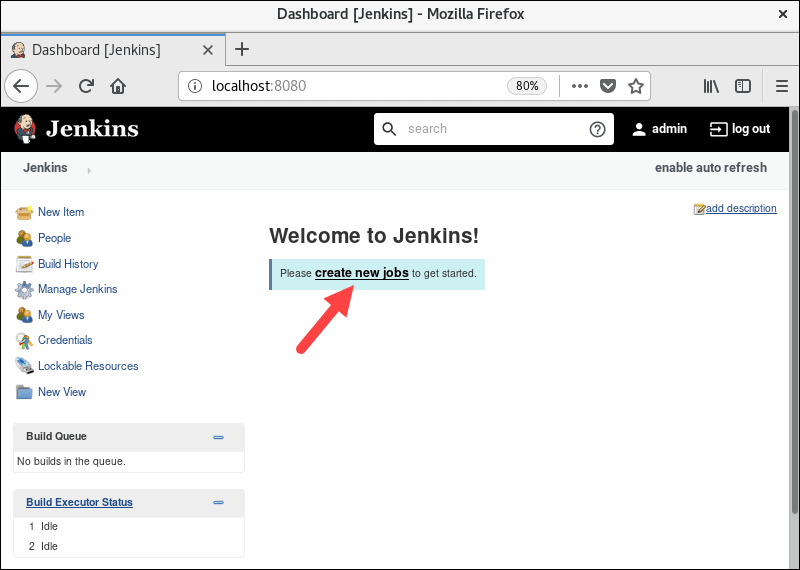
Click Save and finish, and then click Get started with Jenkins.

This step will take you to the Jenkins dashboard, where you can create a new job.
CentOS Jenkins Installation Tutorial Conclusion
How do I install Jenkins on CentOS? You should now have Jenkins installed on your CentOS 8 system. If you follow the steps in this guide, your Jenkins dashboard should load correctly and you can start creating jobs.
If you’re using a different Linux distribution, we also have a guide on how to install Jenkins on Debian 10 and how to install Jenkins on Ubuntu.